
The 15-Minute Maintenance Routine
A short monthly walkthrough catches most of the problems that turn into after-hours service calls. Here is the exact routine Pete Voss recommends to homeowners across Naperville and the western suburbs.
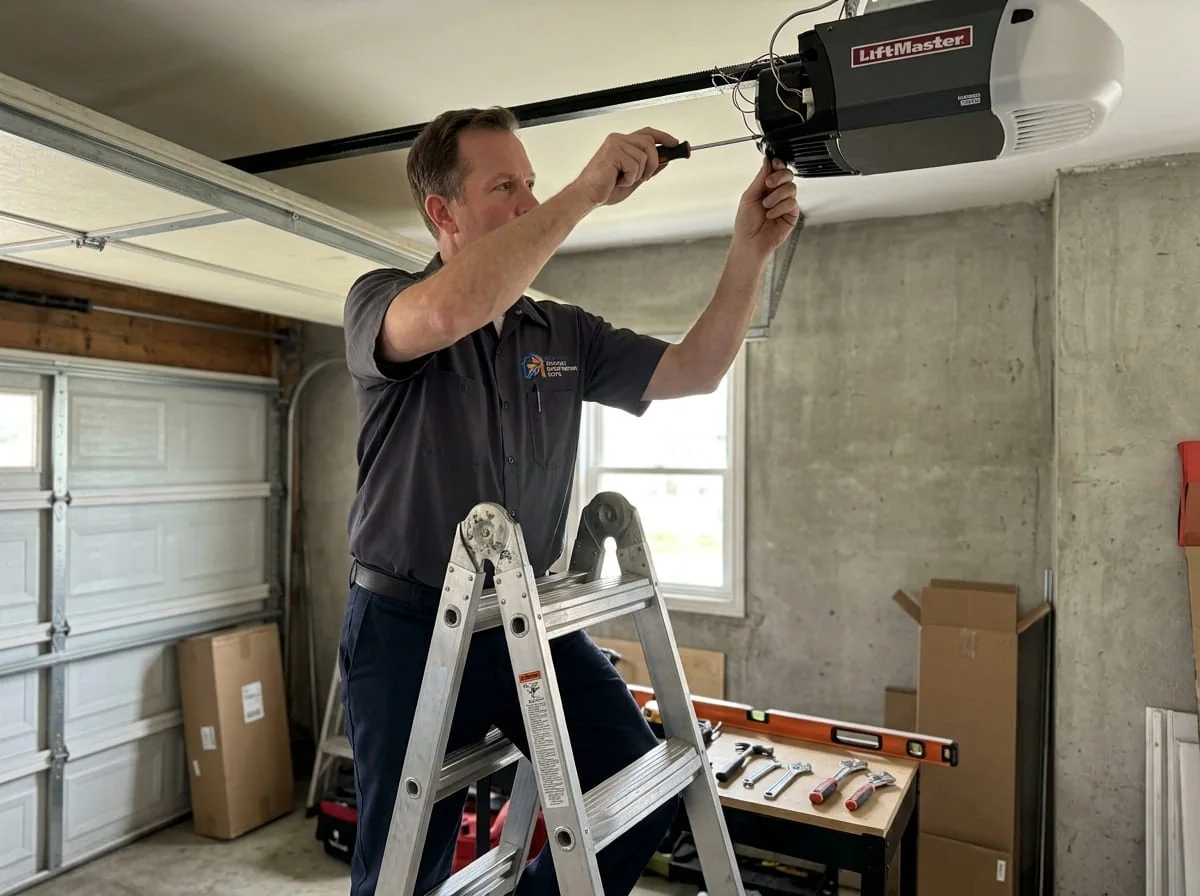
Why a 15-Minute Monthly Check Beats a Once-a-Year Scramble
Most of the emergency calls we take in January and February trace back to something a homeowner could have caught in October with a flashlight and a rag. A garage door is a 300-to-400-pound moving assembly held in balance by springs, guided by tracks and rollers, and monitored by a couple of safety sensors that most people forget exist until the door won't close. None of that requires a technician's toolbox to inspect. It requires about fifteen minutes a month and a willingness to actually look at the hardware instead of just pushing the remote and walking away.
Naperville's climate makes this routine more than a nice-to-have. Our winters run cold enough, on average a January high near 30°F and a low near 16°F, that torsion springs contract and lose a measurable amount of tension compared to summer. Metal brackets and track sections contract too, which can pull a track slightly out of alignment, and the freeze-thaw cycling that hits every driveway slab in DuPage and Will County can shift the concrete under your track fasteners by fractions of an inch over a few seasons. None of that shows up as a sudden failure. It shows up as a door that runs a little rougher every month until, usually on the coldest morning of the year, it doesn't run at all.
The routine below is built around what actually breaks first on residential doors: spring tension, roller and hinge wear, cable fraying, sensor alignment, and weatherseal integrity. Do it monthly and you'll catch small problems while they're still small. Skip it and you're gambling on which cold morning the door decides to make itself known.
What You'll Need (and What You Should Never Touch)
You don't need much: a flashlight, a clean rag, a stepladder if your door is tall, and a garage-door-specific lubricant (a silicone or lithium-based spray formulated for overhead doors, not a household penetrating oil and not automotive grease). That's genuinely the whole kit.
What you should not touch is the torsion spring itself, or the cables that run from the bottom brackets up to the drums. Adjusting spring tension means winding or unwinding a component that's storing enough energy to break bones or worse if it slips off a winding bar. We're not saying that to be dramatic. Pete keeps a bent winding bar in his own toolbox from a job where a homeowner's DIY spring adjustment sent him to the emergency room, and it's a permanent reminder of why we're strict about this with customers. Everything in this checklist is inspection, cleaning, and lubrication. If anything you find below points toward a spring or cable problem, that's the one place this routine stops and a call to a technician starts. See our broken spring repair page for what that visit typically involves.
- Flashlight
- Clean, lint-free rag
- Stepladder (for taller doors or high tracks)
- Silicone or lithium-based garage door lubricant
- A notepad or phone camera to track what you find month to month
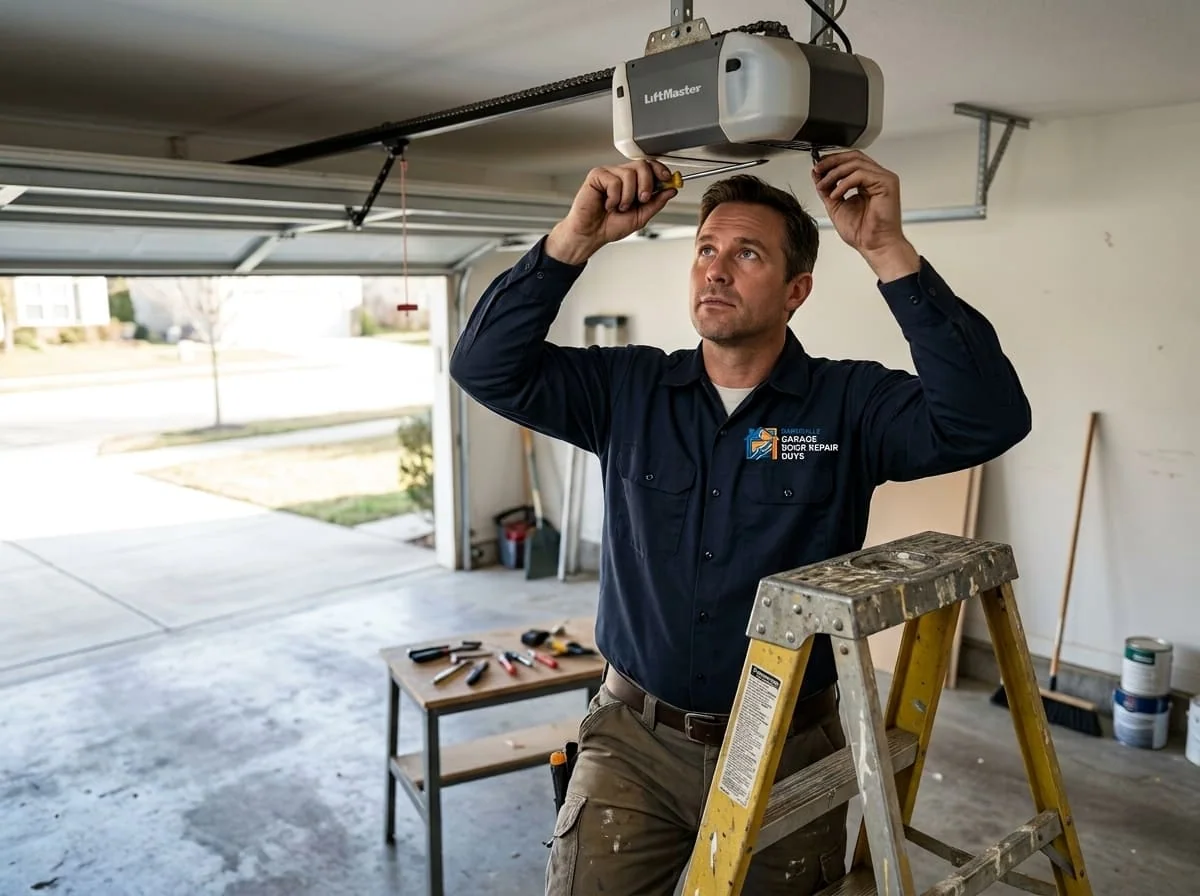
Look Before You Listen: The Visual Walkthrough
Start with the door fully closed and the opener disconnected or the lights off so you're not tempted to cycle it yet. Walk the full length of both tracks with the flashlight and look for the following. Most of these take seconds to check once you know what you're looking at.
- Tracks: dents, bends, or debris (leaves, small toys, dried mud) sitting inside the track channel
- Rollers: visible cracks in nylon rollers, flat spots, or a roller that's noticeably loose in its stem
- Hinges: gaps where the hinge meets the panel, visible rust, or a hinge pin working its way out
- Cables: any frayed strands, kinks, or rust near the bottom bracket (do not touch these, just look)
- Bottom weatherseal: cracks, gaps, or a seal that's pulled loose from its track
- Panels: new dents, rust bubbling under the paint, or moisture staining along the bottom panel
Take a photo of anything that looks off. A crack that seems minor in August is worth comparing against a photo from November, because a lot of wear on rollers and hinges is gradual until it isn't.
The Balance Test
An unbalanced door is one of the clearest early signs that a spring is losing tension, and it's a two-minute test you can do safely. Pull the manual release cord to disconnect the opener trolley, then lift the door by hand to about waist height and let go. A properly balanced door should stay roughly in place, held there by spring tension. If it drifts shut on its own, or if it shoots upward, the springs are no longer matched to the door's weight.
Most residential sectional doors today run on torsion springs rather than the older extension-spring designs, and those springs are engineered to a rated number of open-and-close cycles under industry standards like ANSI/DASMA 102. Springs don't fail gradually and evenly. They hold at roughly correct tension for most of their service life and then let go over a period of weeks as the wire fatigues, which is exactly why a monthly balance check catches the problem while you still have time to schedule a repair instead of getting stuck with a door stuck shut on a Tuesday morning. Reconnect the opener when you're done testing.
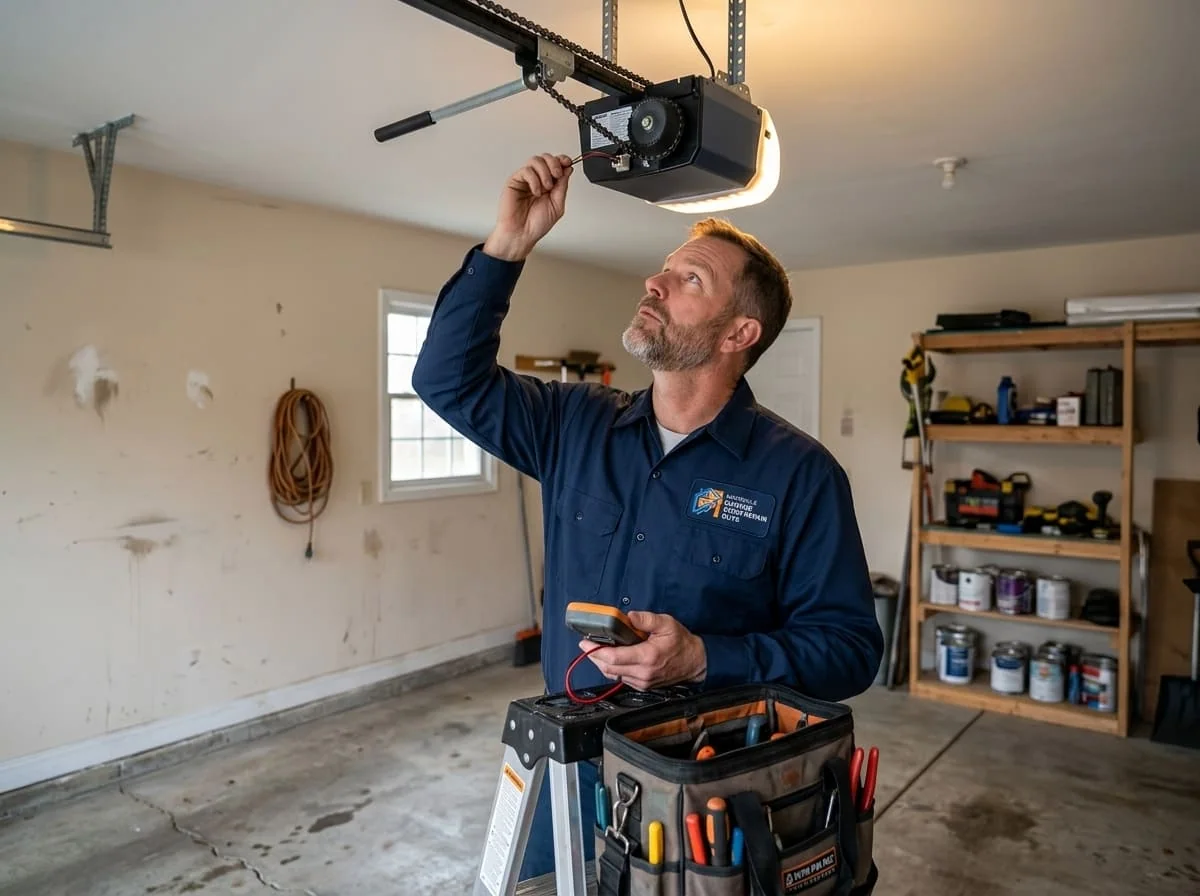
The Auto-Reverse Safety Test
This is the one test on this list we'd call non-negotiable, and it takes about a minute. Federal safety standards enforced through the Consumer Product Safety Commission require residential garage door openers to reverse when they meet resistance, and to reverse when the photo-eye sensors near the floor detect an obstruction. Both mechanisms are worth checking monthly, because a slightly misaligned sensor or a force setting that's drifted can silently disable the protection without any obvious symptom until someone or something is actually in the door's path.
To test the pressure reversal, place a flat piece of 2x4 lumber on the ground where the door closes and run the door down onto it. It should reverse immediately on contact. To test the photo-eye sensors, start the door closing and wave a broom handle or similar object through the beam near the floor, roughly six inches up on either side of the door. The door should stop and reverse without contacting anything. If either test fails, stop using the opener until it's serviced. If you've had this issue before or want more detail on the sensors themselves, we cover it in depth on our safety sensor troubleshooting post.
Lubrication: The Right Product in the Right Spots
Lubrication is where we see the most well-intentioned mistakes. WD-40 and similar household penetrating oils evaporate quickly and attract dust, which turns into a gritty paste on rollers within a few weeks. Automotive or bicycle grease is too thick and stiffens badly in cold weather, which is precisely the wrong property to introduce into a system already fighting winter contraction. Use a lubricant made for garage doors, either a silicone spray or a lithium-based formula rated for the temperature swings we get here.
Apply a light coat to the roller stems and bearings, the hinges at every pivot point, the torsion spring itself (a thin coat along the coils, never while under tension adjustment), and the armbar where it connects to the trolley. Wipe off excess so it doesn't drip onto the floor or attract dirt. Don't lubricate the track surface itself; rollers need lubrication, but a slick track can actually make the rollers slip rather than roll, and it does nothing for the noise or wear you're trying to prevent. If your door is noisy despite regular lubrication, that's usually a sign of a different underlying issue worth a look from our noisy garage door repair team.
- Roller stems and bearings — light coat
- Hinges at every pivot — light coat
- Torsion spring coils — thin coat, no tension adjustment
- Opener armbar and trolley connection — light coat
- Track surface — skip; clean with a rag instead
Weatherproofing for Fox Valley Winters
The bottom seal and the weatherstripping around the frame don't just keep drafts out of the garage. A cracked or gapped seal lets cold air reach the spring and track hardware directly, which accelerates the contraction issues we mentioned earlier and can let moisture in that speeds up rust on cables and hinges. Run your hand along the bottom seal and the side weatherstripping and feel for gaps, brittleness, or spots where the material has pulled away from its track. Illinois winters are hard on rubber seals; expect to replace a bottom seal every few years rather than assuming it lasts the life of the door.
If you've noticed your garage feels noticeably colder than it should, or condensation forming on the inside of the door panel, that's often a sign the door itself, not just the seals, is due for an upgrade. We go into R-value and insulation options for our climate in our insulated garage doors post, which is worth a look before your next heating season if this checklist keeps turning up the same seal problems.
Hardware, Cables, and Knowing When to Call
Finish with a quick pass over the visible hardware. Check that track brackets and hinge bolts are snug (hand-tight with a wrench, not over-torqued), since vibration from months of regular use works fasteners loose gradually. Look again at the cables near the bottom brackets for fraying, and if your home has an older extension-spring system rather than torsion springs, confirm the safety containment cables are still threaded through the springs; these are required for a reason, since a failed extension spring without a containment cable can become a projectile.
- Track and hinge bolts hand-tight, not stripped
- Cables free of fraying, kinks, or visible rust
- Extension spring containment cables present and intact (if applicable)
- Opener chain or belt tension even, not sagging
- Remote and keypad batteries tested
Anything involving spring tension, cable replacement, or a door that fails the balance or auto-reverse tests is where this checklist ends and a service call begins. That's not us being cautious for its own sake; those are the components that store or release enough energy to cause real injury when handled without the right tools and training. Our general repair team and opener repair specialists handle exactly these situations, and we provide a free upfront quote before any work starts so you know what you're agreeing to.
Building the Habit: A Seasonal Rhythm
Realistically, most homeowners won't do all of this every single month, and that's fine as long as you're consistent about the parts that matter most. We recommend the full 15-minute routine monthly, a slightly deeper look including bolt torque and weatherseal replacement each fall before the first hard freeze, and another pass each spring to check for winter damage you might have missed. Keeping a simple log, even just a few photos with dates in your phone, makes it much easier to notice a hinge that's degrading or a roller that's gotten louder over a six-month span rather than relying on memory.
This routine won't eliminate every repair, and springs and cables have a service life regardless of how well they're maintained. What it does reliably do is turn most surprise breakdowns into scheduled repairs on your terms instead of emergencies on the coldest morning of the year. If anything in this checklist turns up a problem, or if it's just been a while since a technician looked at the whole system, our team serves Naperville and the surrounding suburbs and is happy to walk through it with you. Reach out through our contact page or give us a call to get on the schedule.

Pete Voss
Owner and lead technician at Naperville Garage Door Repair Guys, serving Naperville, IL since 2012.
FAQs
How often should I really do garage door maintenance?
A quick 15-minute visual check and lubrication once a month is a good baseline for most households. We also recommend a slightly deeper check each fall before winter sets in and again each spring, since seasonal temperature swings are when Naperville-area doors show the most wear.
Can I do this maintenance myself, or do I need a professional?
Everything in this checklist, inspection, cleaning, lubrication, and the balance and auto-reverse safety tests, is safe for a homeowner to do without special tools. The one exception is anything involving spring tension or cable replacement. Springs store enough energy to cause serious injury if handled incorrectly, so that part of the job should go to a trained technician.
What's the best lubricant for a garage door?
Use a silicone-based or lithium-based spray lubricant made specifically for garage doors. Avoid household penetrating oils like WD-40, which evaporate quickly and attract dust, and avoid automotive or bicycle grease, which thickens in cold weather and can gum up rollers and hinges during our Illinois winters.
Is it dangerous to test my garage door's balance myself?
No, the balance test itself is safe. It's just disconnecting the opener and lifting the door partway by hand to see whether it holds its position. What's dangerous is attempting to fix an imbalance yourself by adjusting the torsion spring, which is a job for a trained technician with the right winding bars and safety training.
How do I know if my garage door springs need replacing?
Watch for a door that fails the balance test (drifting shut or shooting up on its own), visible gaps or rust on the spring coils, or a door that suddenly feels much heavier to lift manually. Torsion springs are rated for a set number of open-close cycles and tend to wear out predictably with age and use rather than lasting indefinitely.
How much does professional garage door maintenance cost?
Cost depends on what's found during inspection, whether it's a straightforward lubrication and adjustment visit or something that turns up a worn spring, cable, or roller that needs replacing. We provide a free, upfront quote before any work begins, so you know exactly what's involved before committing to a repair.
Have a Garage Door Problem Right Now?
Skip the guesswork — call Naperville Garage Door Repair Guys for a fast, honest diagnosis.